New Location – New Ideas

Running a small business like this, it is very easy to fall into a rut. You carry on doing what you have always done, business ticks over and all is well.

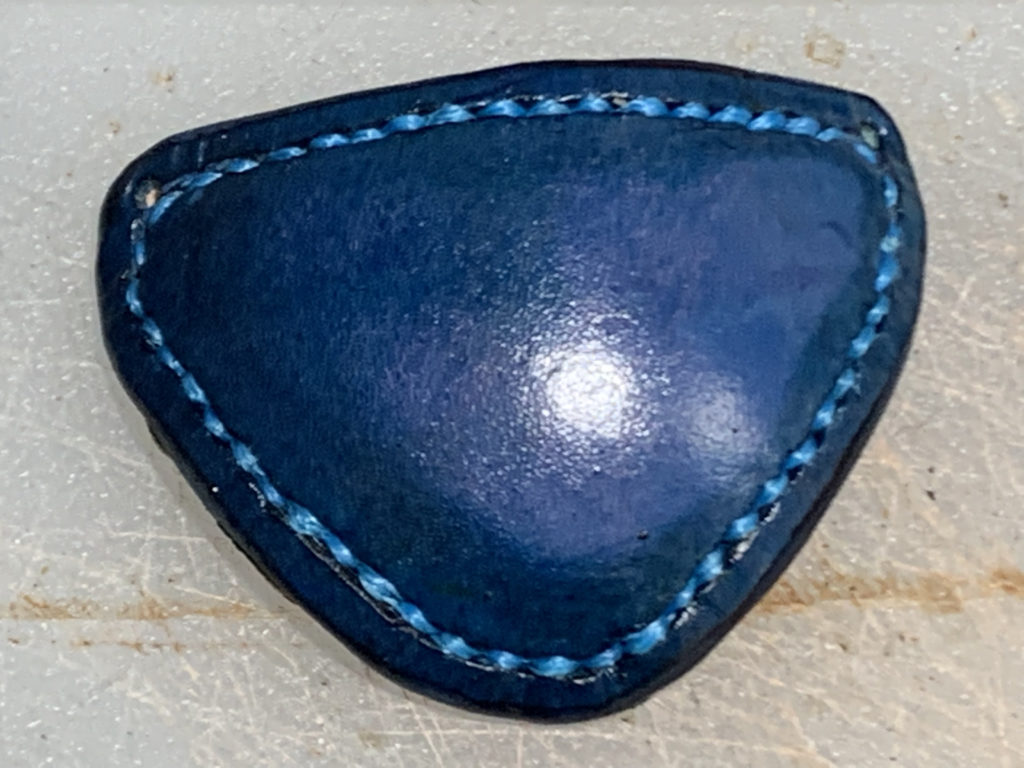
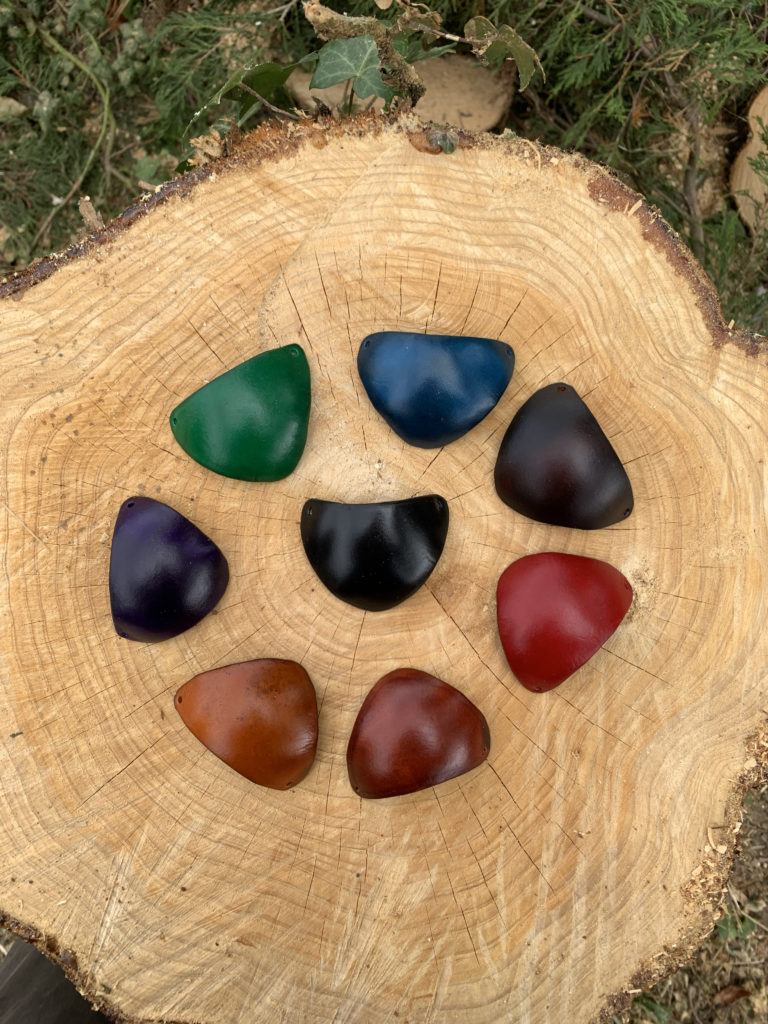
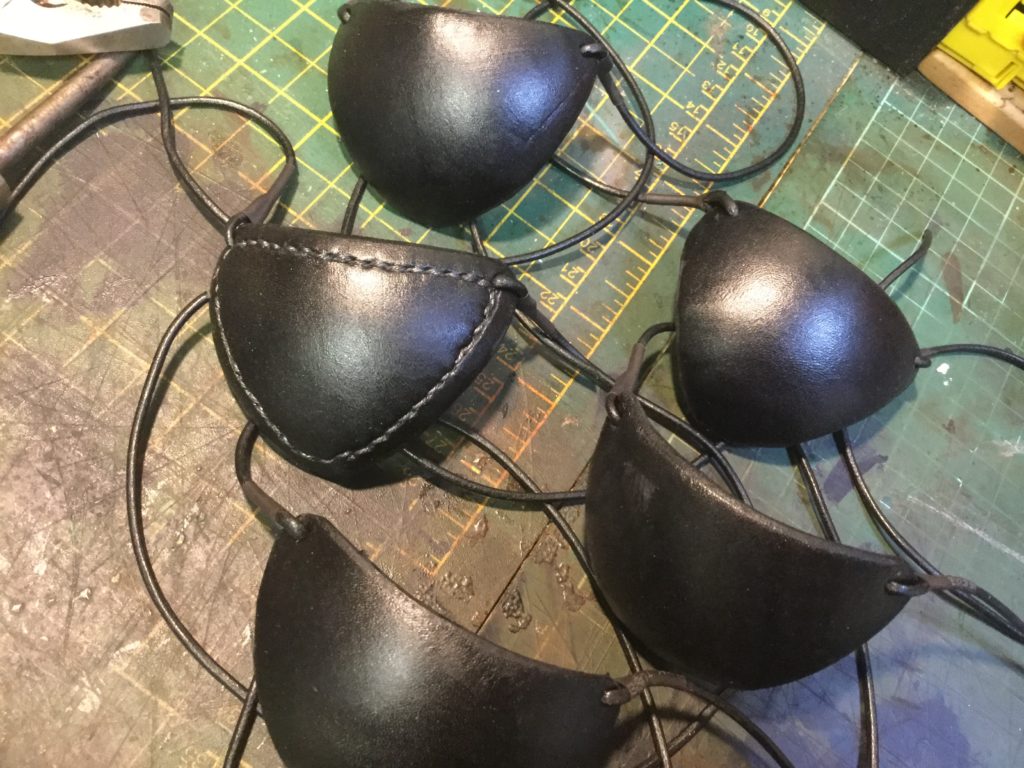
From time to time however, new ideas and innovation spring up from unlikely sources. The latest for me was when a customer asked for a blue eyepatch. Blue? But eyepatches are always black or brown or tan are they not? Good enough for pirates and Marvel Superheroes after all. To cut a long story short I looked into the process and ordered some blue dye. It works really well, especially with matching thread colours.

Custom eyepatch, blue waxed thread and blue dye.

So, prodded out of my complacency, I ordered a range of dyes and experimented. Some colours work really well and others not so good. I have put together the colours that I think really work well and have added them to the Etsy Shop, blue, purple, green red and so on are the new black!!!

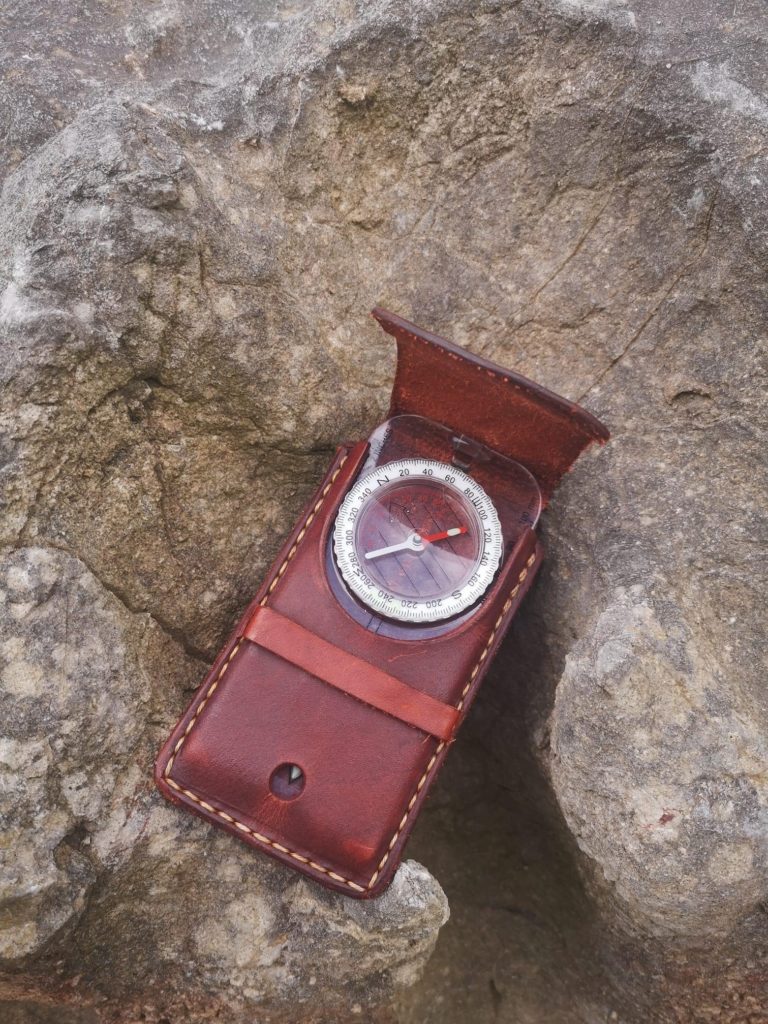
The new colour range available not only for eyepatches but all the products available on the Etsy shop.

The Vikings are Coming…

Here at Blackwater Leather we are not all about working.  Amongst our hobbies is Viking Re-actment!  Yes, dressing up in silly clothes and running about hitting each other 😄.

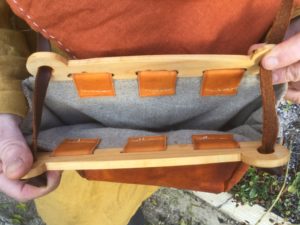
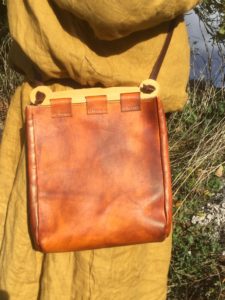
We wanted a couple of good quality bags to keep authentic items in, like iPhones, iPads etc. and couldn’t find anything on the market that fitted the bill.

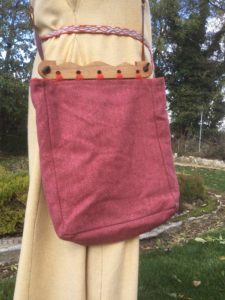
So we decided to design and create our own.  Based on early Viking finds from Scandinavia, these bags are as authentic as we could make them.  The bag frames are linden or ash, the bags are wool and linen or leather and the fittings are bronze or brass.


So, if you are looking for an authentic reproductiin of an early medieval bag, look no further!

Bespoke work is easy…

…if we can visit and measure the boat and even easier if the customer knows what he wants.

West Solent OD capshroud
West Solent OD capshroud…

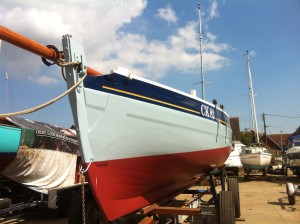
A while ago we were asked to make a set of bottle screw covers for a West Solent OD that is kept in a local yard.  No problem.  When we visited the beautiful boat to do the work the specification was changed by the boat keeper, who commisioned the work.

A week later and we went back to the boat to fit the bottlescrew covers only to be told the design had been altered again!  Grrr.  Never mind, the customer is always right, is’nt he?

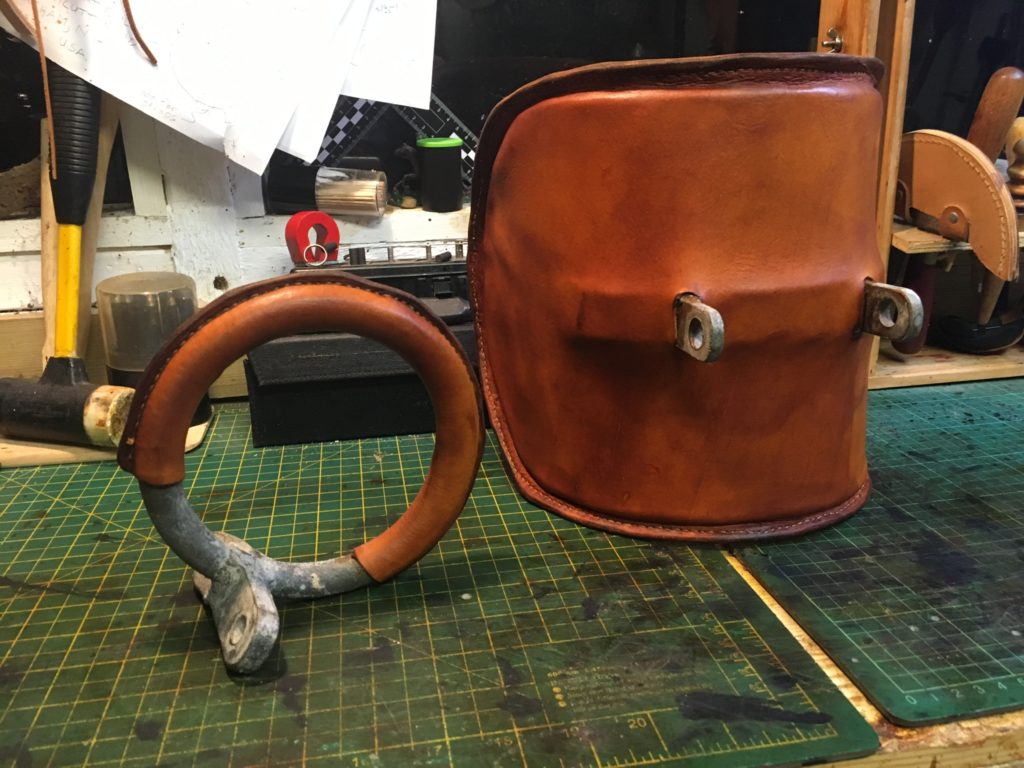
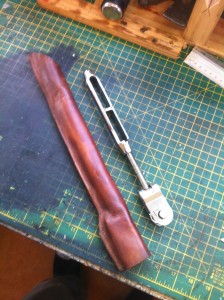
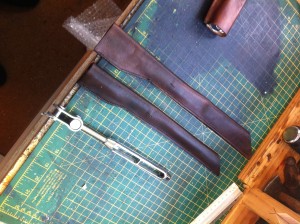
So with a new design explained we return to the workshop and make another set of covers.  Back to the boat and learn that the design has been altered AGAIN by the owner this time.  By now the boat was about to be moved to her winter quarters and the job was becoming a ‘rush’.  Because all the rigging had now been removed and the mast taken down, we were given a bottle screw (see pic) to use to make a final version.  A week later we return to the yard with a bag of perfect bottle screw covers, only to discover that the single bottle screw we had been given, and told to work from, was in fact the forestay bottle screw.  Er, so what I hear you ask.  Well the fact is that on this boat the forestay screw is 50% larger than the others.  So, only one bottle screw cover actually fitted.

By now we are getting a little bored with bottle screw covers.  Chucked the whole lot in a skip and went home.

Moral of the story?  Please let us measure and design any bespoke leatherwork.  We will make them and offer them for approval and if you like them you will be invoiced.  We will never break our golden rule of accepting orders over the phone without first either visiting your boat to measure and design or at the very least have a set of drawings we can work from.  If boat keepers, yard managers, helpful locals, and owners all get involved then it quickly becomes a case of ‘chinese whispers’ and no-one really knows what is going on.

Moan over 🙂

IMG_2315

Winch handle holder

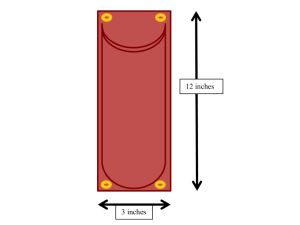
We received a call the other day from a chap that was trying to source a set of winch handle holders for his classic yacht.  After a chat he sent a rather nice sketch of the type of thing he was looking forWH drawing.

There are plenty of fabric winch handle holders on the market but many look out of place on traditional or classic boats.  Ordinarily we would like to have visited the boat in question, taken some measurements and discussed with the customer exactly what they wanted before accepting a commission, however, this customer had a very clear idea of what he was looking for and we were happy to go along with his ideas.

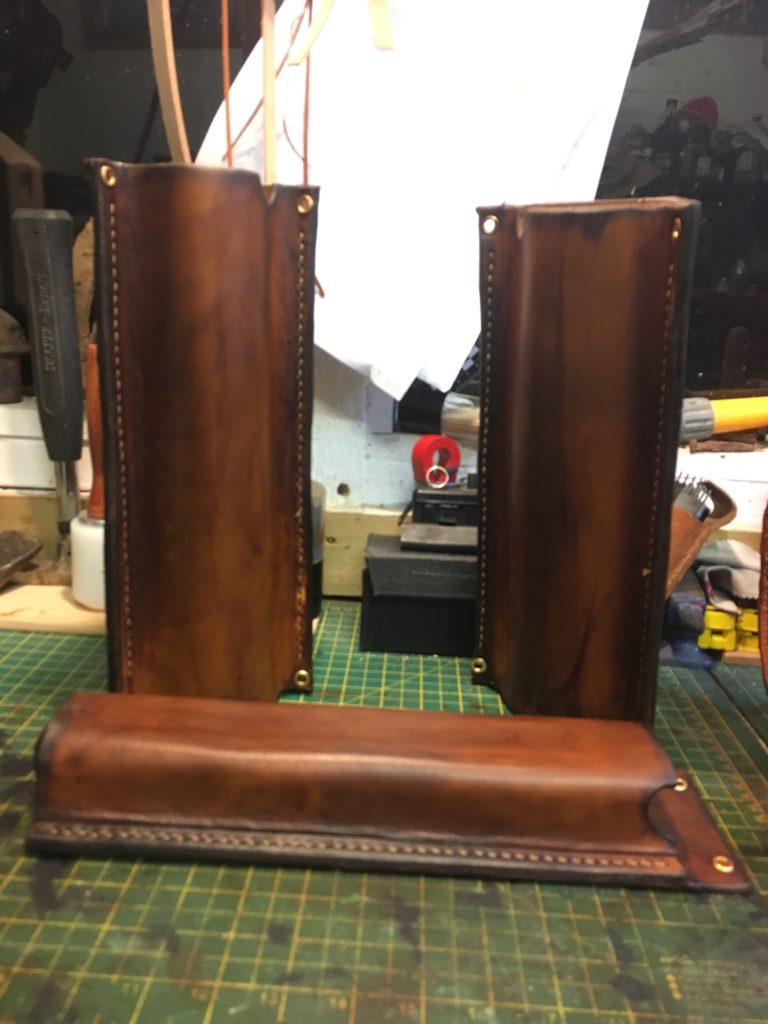
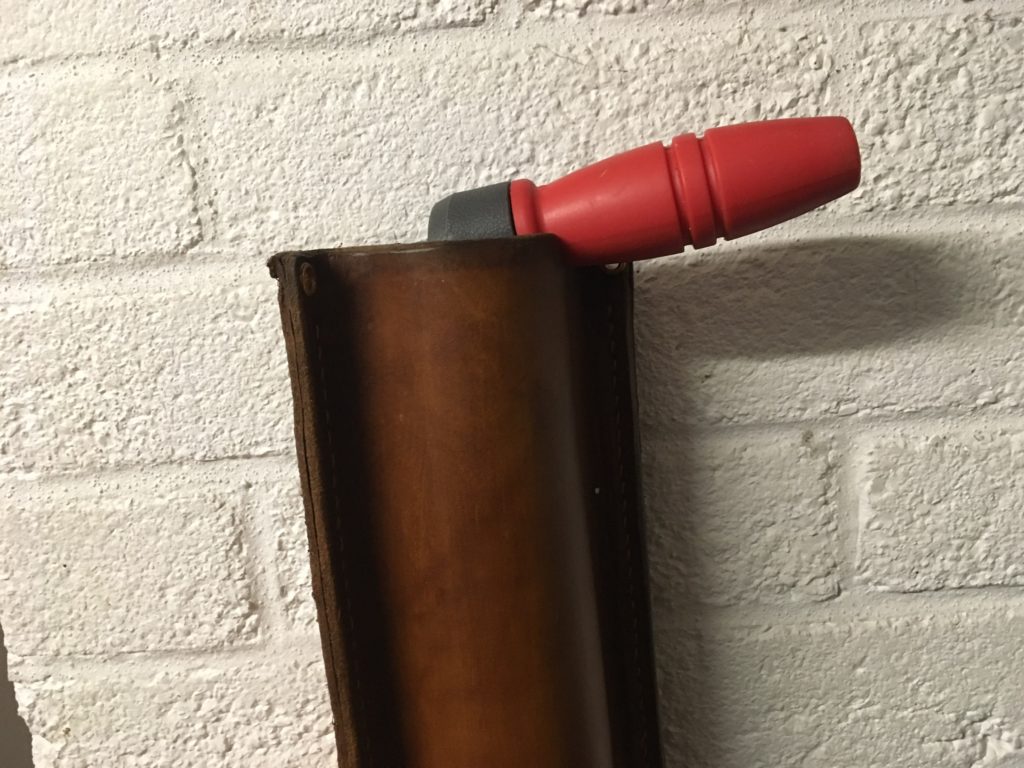
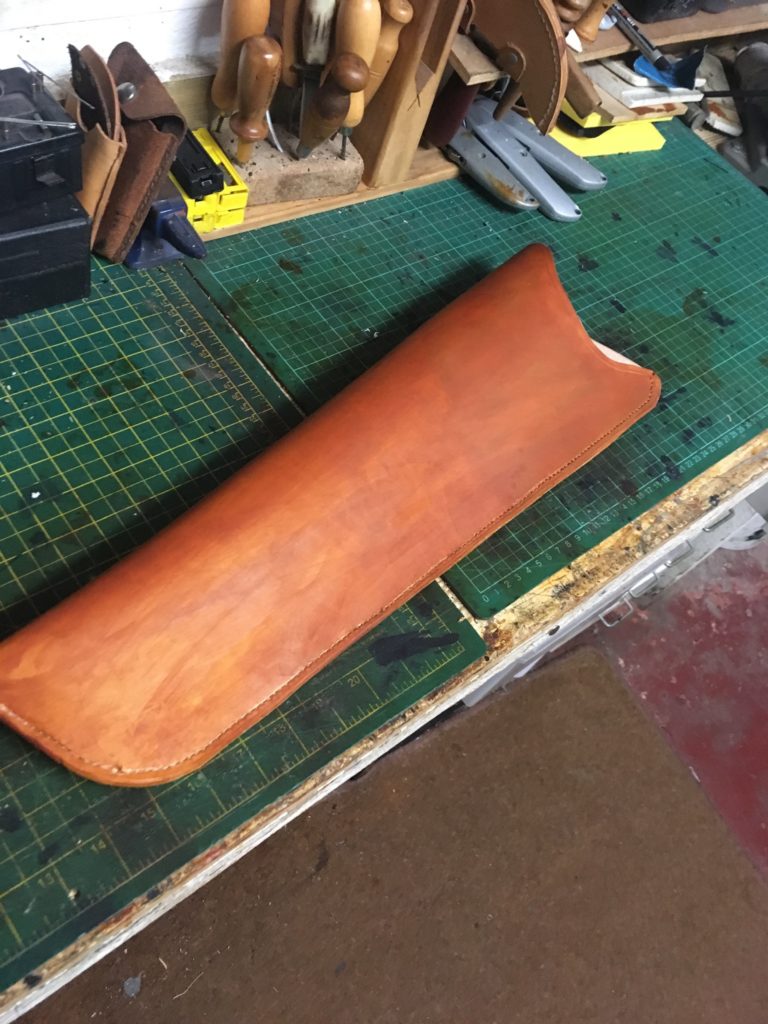
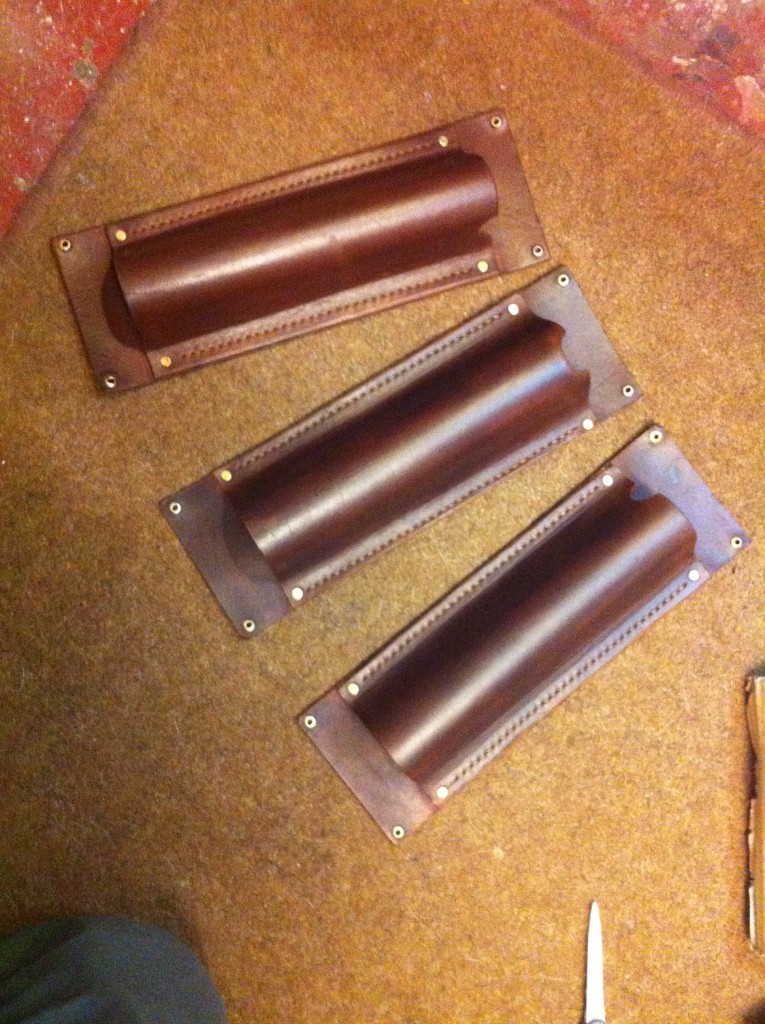
WH holdersThis is the finished product.  2mm veg tanned leather used throughout with waxed linen thread and solid brass fittings.  The middle holder has a central cut out to take the winch handle and is destined to be fitted to the base of the mast with either ties or brass screws.  The outside pair have cut outs at 90′ so that the handle sits flush, these are for use in the cockpit.

The bottoms of the holders were left clear to facilitate rapid drainage of spray and rainwater.  Total cost was in the region of £30 each as we had the correct leather in stock.  We think they look much nicer then fabric versions and should last much longer too.

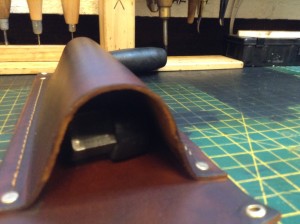
WH end view

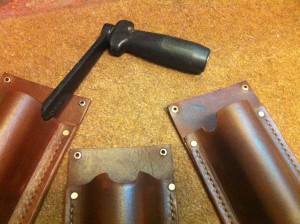
WH with winch half out


Fishing Smack…

…a couple of weeks ago we attended our first boat jumble.  A lovely day with lots to see and spend money on! We gave away lots of cards and the other day we recieved a phonecall from a very nice chap who picked one up.  Ah, the power of advertising.

IMG_1937The lovely 30′ smack was all but ready for launching, when the owner asked us to re-leather the gammon iron.  Normally an easy job but working up a ladder proved a lot harder then expected!

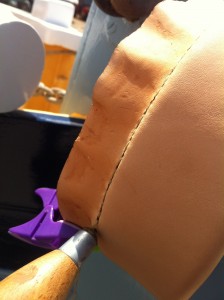
IMG_19432mm veg tanned leather was chosen for this job.  Although the radius of the iron was fairly large, it is important to get the stitching in such a location that the bowsprit will not chafe it.  The leather was prepared and moulded to shape, stitches were marked and sewing begun…
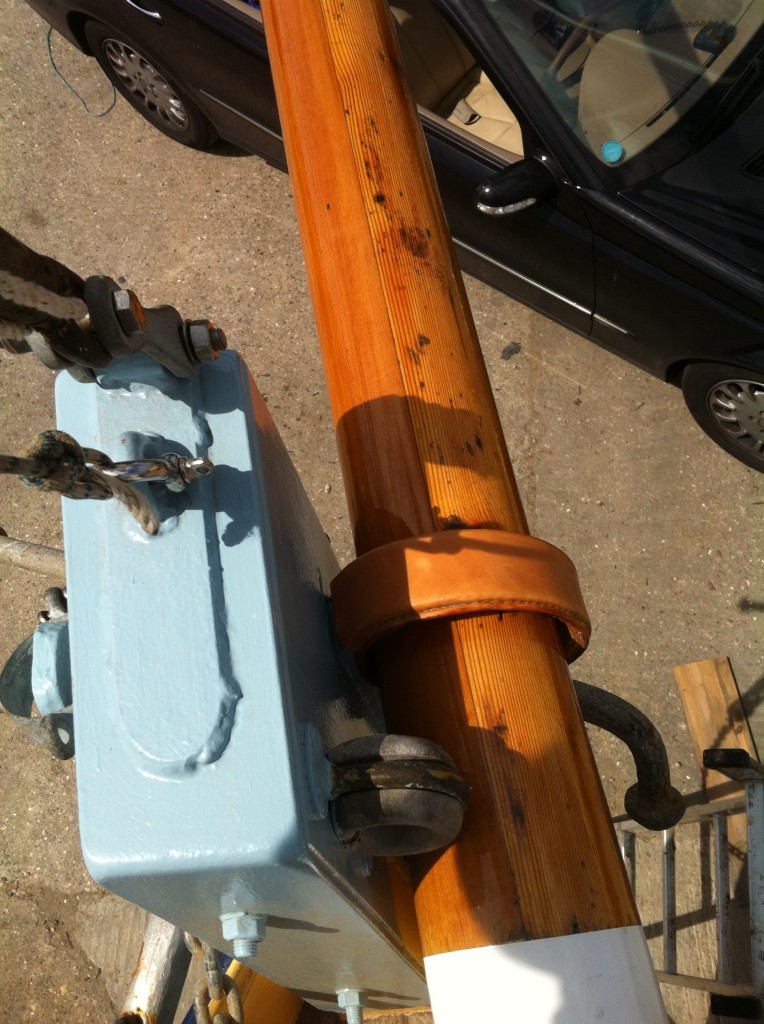
As usual saddle stitch was used as being stronger and much neater then the usual ‘lock stitch’ one sees so often on marine leather work.

IMG_1946


A section of 3mm shoulder leather was moulded and inserted to cover the head of a coach-bolt that fixes the gammon iron to the king post.  This was a potential chafe point and would have removed the lovely new varnish from the sprit quicker than a quick thing.

Finally the leather was treated to a waterproofing compound and soaked in leather dressing,  following trimming and burnishing of the exposed edges.  The bowsprit was tried for size and the owner reported that his sprit had never slid in and out as easy!

IMG_1951


Out and About…

Someone, I am not sure who, had the bright idea of doing craft fairs and farmers markets as a way of raising our public profile.  (thats corporate speak for drumming up some business).

So the BWL roadshow was born…

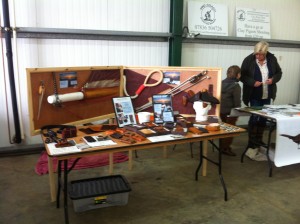
Our first show was at a really great farmers market/craft fair at Great Garnetts farm, near Dunmow in Essex…

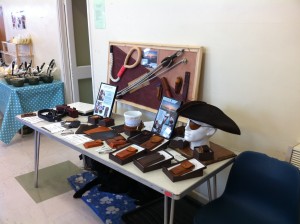
One of our first public events!

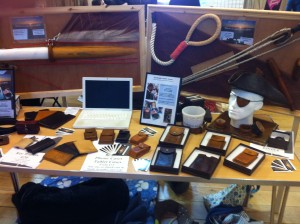
We are rather proud of our display, simple things please simple minds, as my mum used to say!  The second show was in Old Harlow.

To be honest, we did not sell much here.  Mind you, a long way from the sea!
To be honest, we did not sell much here. Mind you, a long way from the sea!

We had one customer who wanted to buy our backboards!  He thought they were artworks for sale!!  The Roydon Craft Fair was really fun.  Lots of interesting stalls here.

We liked this show.  Mainly because they had a hog roast, yummy.
We liked this show. Mainly because they had a hog roast, yummy.

We will be out and about at craft fairs all over Essex and beyond this summer.  The highlight for us will be the Blackwater Show.  Look it up, a really great day out.  Come and say hello!

Re-leathering a Bowsprit Traveller…

…is all in a days work but I thought it might interest some of our loyal customers.

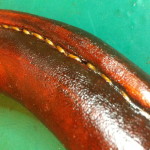
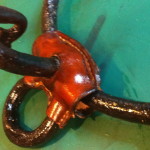
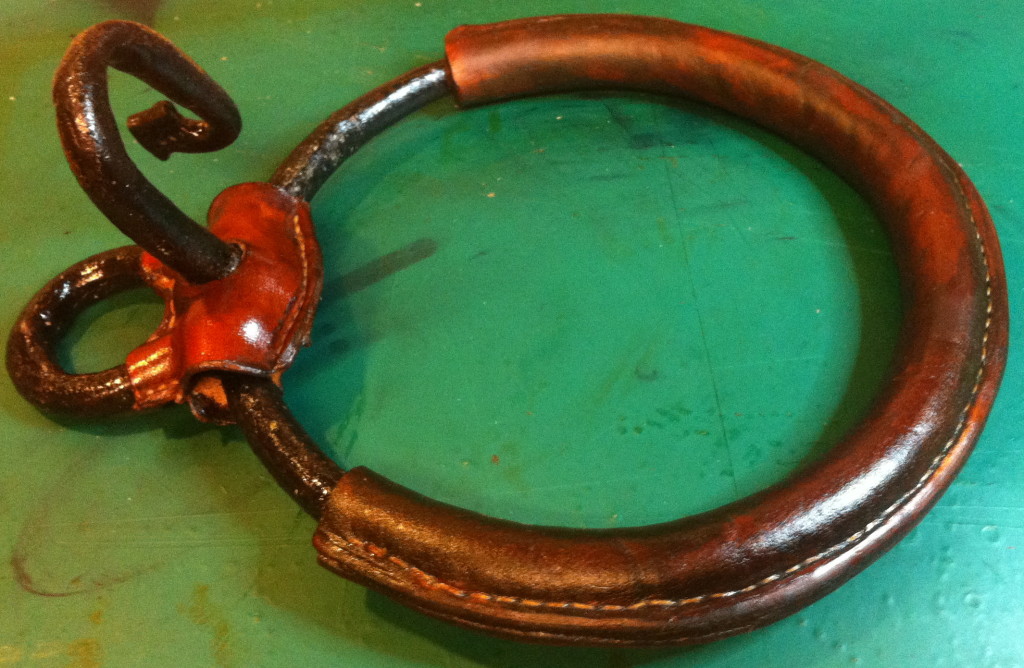
This job, like so many of those we undertake was in a sorry state. In itself it does not matter too much but when one considers the damage caused to the bowsprit by an unleathered, rough, abrasive lump of galvanised steel being dragged up and down it, I am often surprised at the poor condition of many travellers.  Varnish is expensive and the labour and effort involved in applying are not inconsiderable, not to mention replacing a rotten spar, the cost of re-leathering seems very reasonable by comparison.

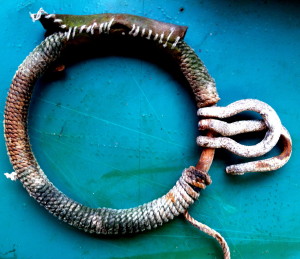
Bowsprit traveller before

IMG_1556


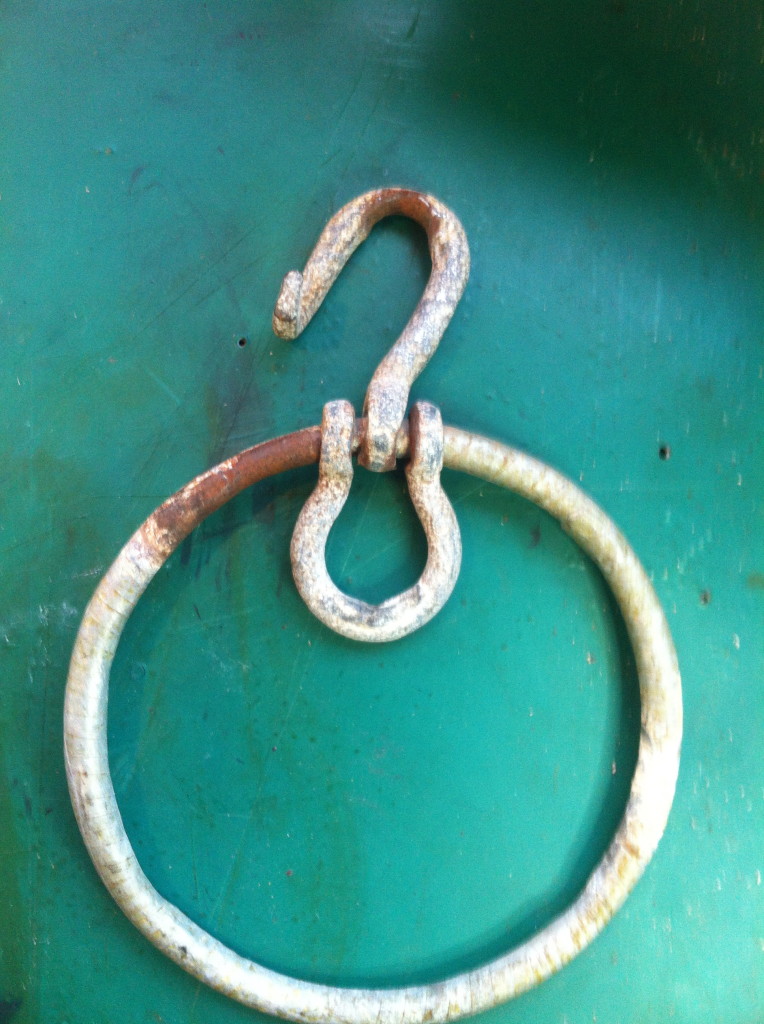
The first thing to do was to strip all the old frapping and remnants of leather off and wirebrush the ring to remove all traces of rust and so on.

6 stripped

At this stage a decision has to be made, either regalvanise the ring or prime and paint it.  In this case the galvanising was not too bad and after a good clean it was etch primed and painted using two coats of metal enamel.

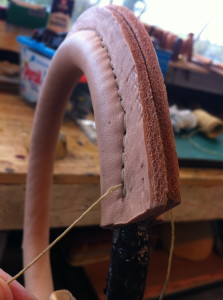
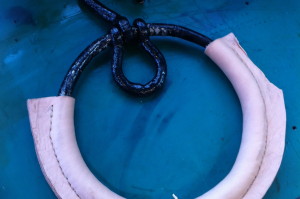
Now comes the tricky part!  This ring required the use of 3mm thick veg-tanned shoulder leather.  All the leather used here is full grain and is suitable for wet moulding.  After soaking in tepid water the leather strip is applied to the ring and gently moulded to take up the shape of the ring.  It takes a very long time, moulding, wetting, moulding  and wetting until the shape matches and the leather can be clamped into place.

IMG_1613

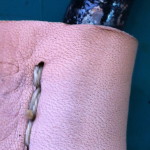
Whilst still wet the new leather may be stitched into place.  I always use saddle stitch for this, it is strong and if done carefully, can look very neat and tidy.  One often comes across bowsprit travellers that have been fixed in place using the ubiquitous ‘speedy-stitcher’, nothing wrong with that but it really is not as strong and is certainly not as neat or ‘seamanlike’.

IMG_1614


IMG_1617


Stitching complete the work is put to one side to air dry.  As drying takes place the leather shrinks a little, gripping the ring securely.  Next step is to trim and apply the first treatment.

IMG_1624

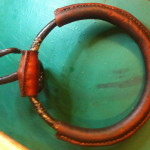
In this case this was a pre-dye treatment to seal the leather and provide a good surface for the dye.  Saddle Tan is my prefered colour, nice and traditional looking.

Almost there.  Next comes two or three applications of waterproofer and wax polish, followed up with three applications of dubbin and a final covering of best quality lambs tallow.

IMG_1627

IMG_1626


IMG_1625

So, this bowsprit traveller is now ready for another 25 years of service and, as an added bonus, will not strip the varnish off of the bowsprit.  Well, as long as the tallow is ‘topped up’ from time to time.  And the cost?

To re-leather a bowsprit of this size will cost between £65 and £75, worth every penny I think!